baby planner, nurse, &

Maternity concierge

already a member?

filed in

How To Carve A Pumpkin With Kids- A Step By Step Guide with Cute Printable Pumpkin Carving Stencils

This step by step guide will teach you how to carve a pumpkin with your kids the simple and safest way possible.  This is a family tradition of ours that we’ve enjoyed for the last several years with our nieces and nephews.  And now that they’re teenagers and tweens, they request to do this activity every Halloween, and I’m sure your kids will too.  

{We are a participant in the Amazon Services LLC Associates Program, an affiliate advertising program designed to provide a means for us to earn fees by linking to Amazon.com and affiliated sites. To learn more about affiliate links, click here!}

Related Post: The Ultimate Family Guide to Halloween

How to Carve pumpkins with kids pin

How To Pick The Perfect Pumpkin to Carve

First things first, how do you pick the perfect pumpkin to carve with your kids? So, let’s say you’re roaming around the pumpkin patch looking for that perfect pumpkin to bring home with your little one. Do you know what to look for? Here are some simple tips:
  1. Have a Design Idea in Mind– what shape of pumpkin will work best for your design?  A tall pumpkin or a short fat one?  
  2. Look for a Pumpkin with Smooth Skin– Try not to choose  lumpy or bumpy pumpkin as this will make it harder to carve.
  3. Check for Blemishes or Rot– Stay clear of pumpkins with strange spots as that could be early rot would won’t make for a very fun carving experience.  
  4. Choose a Pumpkin with a Good Stem On the Top–  A good stem on the top of your pumpkin will make for a nice top to your jack o’ lantern, but don’t carry it only by the stump cause it may rip off.  Look for a thick sturdy stem as that may indicate the pumpkin is nice and healthy.
pumpkin patch

How To Prep Your Pumpkin for Carving

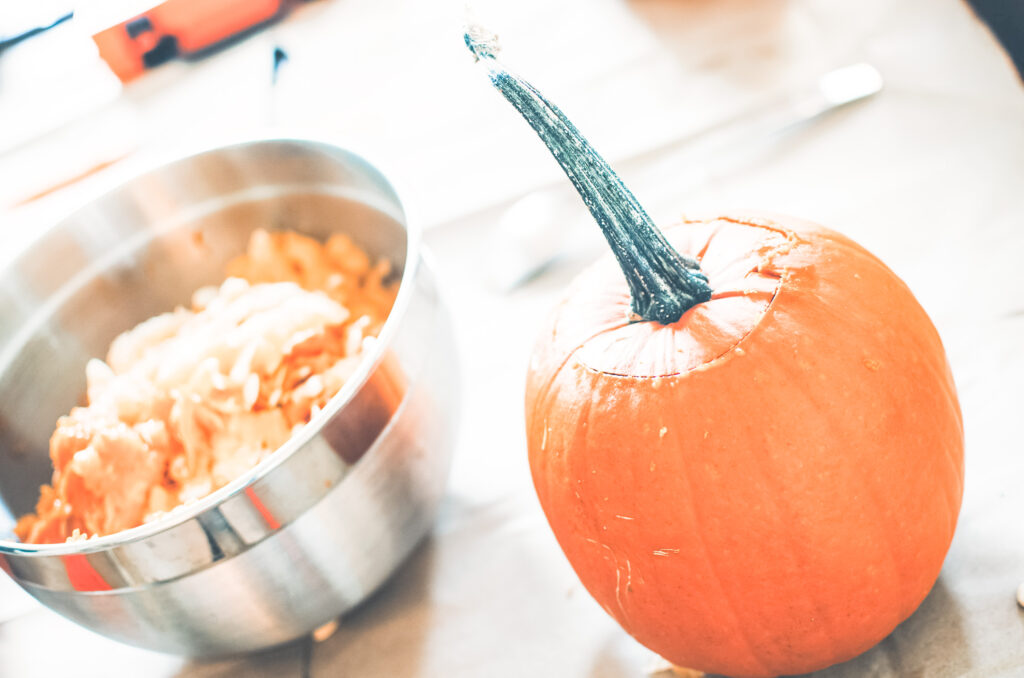
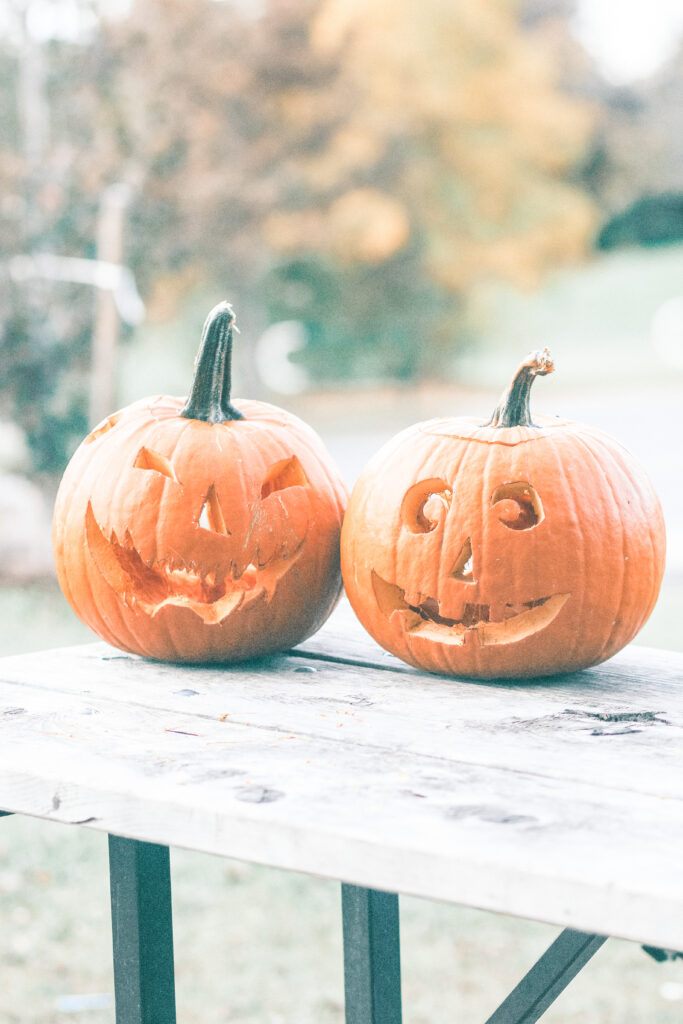
Before you being carving your masterpiece, there are a few things to do first that simply can’t be missed. We highly recommend doing this pumpkin prep work the night before carving with your kids. Maybe after they’re in bed. Make a date night out of it. That way your pumpkins are all prepped and ready to go for carving the next day. Plus, if you like to roast the pumpkin seeds, you can do so while you carve as they’ll have time to dry out overnight. Yum!
 
  1. Give your pumpkins a good bath & get all the dirt from the pumpkin patch off.
  2. Cut a circle around the top of the pumpkin & remove the “lid” with the stem.
  3. Scoop out all the pumpkin “guts”.
  4. Use a scraping tool to clean out the inside of the pumpkin as much as possible.  
  5. Place plastic wrap against the flesh of the pumpkin on the inside overnight and store in a cool dry place- this will help maintain it’s moisture and prevent early rot.
  6. Separate the seeds from the guts in the kitchen sink and let dry on paper towel overnight for roasting.
  7. Bonus: if you’ve already chosen your pumpkin carving template, apply Elmer’s glue to the back of your template and adhere it to the outside of your pumpkin where you plan to carve the night before.  The template will stay in place while you carve the next day and can be easily removed with warm water and a cloth.
carving pumpkins

The Best Pumpkin Carving Tools for Kids

Now that you’re pumpkins are all ready for your big carving day, it’s time to gather the best pumpkin carving tools out there.
 
Here’s what you’ll need to carve a pumpkin with your kids…
  1. Tarp/Table Cloth- to save your table from scratches and messes
  2. Carving Tools- we’ve a stainless steel set for years and it’s held up really well
  3. Bowls- to hold all the goopy guts
  4. Markers- for tracing
  5. Stencils- look down below for some of our favorites
  6. Aprons- so mom has to do less laundry hopefully
  7. Halloween Playlist- this is our favorite one
  8. Lights- skip the candles and try these remote controlled lights for your jack o’ lanterns
  9. Toothpicks- for any oopsies and mishaps
cider mill

Basic Steps to Carving A Pumpkin With Kids

  1. Choose a stencil
  2. Place stencil on pumpkin and tape into place (or try the Elmer’s glue trick up above)
  3. Use a marker to draw the design or use a poker tool to outline the image onto the skin of the pumpkin (we poke all the way through the skin to make it even easier to carve.)
  4. Remove stencil
  5. Use a sharp cutting blade and begin carving out the shapes in a back and forth motion until that portion of the design falls through to the inside of the pumpkin.
  6. Complete your design.
  7. If you mess up and cause an intricate piece to fall in or accidentally cut it off, reapply with a toothpick.  Pierce the pumpkin part with one end of the toothpick and insert the other end into the pumpkin so the piece is back in place.  #genius
  8. Place your lights inside your pumpkin & enjoy!

Where To Find The Cutest Printable Pumpkin Stencils

When our nieces and nephews were little, they’d have very specific design ideas in mind for their pumpkins. Maybe your kids are the same? And, back then it was hard to find the perfect stencil, so we’d either just hand draw what they wanted or we’d talk them into a simple jack ‘o lantern face.
 
These days, you can find just about any pumpkin stencil available on Etsy that you can download and print at home. These creators have quite the array of pumpkin templates to choose from & I thought I’d share some favorites with you here. If you don’t see one your child will like, simply visit Etsy and type in a design you’re looking for.
 
Some of the cutest printable pumpkin stencils for kids…

FAQ's Regarding Carving Pumpkins With Kids

Should Kids Carve Pumpkins?

Absolutely! Carving pumpkins is a great activity for the whole family to enjoy every Halloween season. Here’s 5 benefits to carving pumpkins with your kids.
      • It’s a great opportunity for sensory learning
      • Creating a pumpkin design encourages critical thinking skills
      • Scooping out the insides is a fun, sensory experience
      • Carving develops fine motor skills
      • Displaying their pumpkin makes your child feels valued and celebrated

What Age Can A Child Carve A Pumpkin?

Typically around ages 9-12, kids can begin carving pumpkins more independently. But, of course, I’d always recommend a parent or grown-up be close by to observe the process. Sometimes they still need help with tricky parts even in the tween years.

How Do You Safely Carve A Pumpkin?

I can totally understand why some parents are hesitant to carve pumpkins with their kids, but we’ve been doing it since the kids were pre-school ages.  And, bonus…we haven’t lost a finger yet!  Woohoo!  
 
Here’s our tips for carving a pumpkin safely with kids…
  • Hold your pumpkin steady
  • Work slowly
  • Take breaks
  • Watch your hands and fingers
  • Don’t leave sharp tools laying around for little ones to play with

How Do You Carve A Pumpkin With a Toddler or Younger Child?

The biggest piece of advice I can give parents of young kids who want to carve pumpkins is to prepare as much as possible beforehand.  Cause as we all know, toddlers and preschoolers don’t have the longest attention spans, am I right?  

Here’s some simple tips to make carving a pumpkin with a toddler or preschooler more enjoyable…

  • Prep Beforehand- get your pumpkin ready to carve the night before
  • Let them choose their own design- the simpler the better
  • Help them trace the stencil onto their pumpkin
  • Let them sit nearby and watch you carve
  • Take breaks- 
  • Have a cute Halloween-themed show on the TV to offer a distraction if needed
  • Include some fun snacks on the carving table
  • Finish when they go down for a nap if need be
  • Let them turn the light on in their pumpkin and enjoy the show!

How Long Will The Carved Pumpkins Last Before Rotting?

Usually a pumpkin will only last a few days (3-4 days) before beginning rot, sometimes a bit longer in colder climates and a bit shorter in warmer climates. But there are some things you can do to help preserve your pumpkins.
      • Spray the cut edges with PAM or rub them with Vasoline
      • Spray the inside of the pumpkin with a mixture of bleach and water to prevent bacteria from forming
      • You can also again wrap it in plastic wrap and store in the fridge to help them last longer
two jack 'l lanterns
I hope you have the best time carving pumpkins with your kids. I promise it does get easier as they older. Woohoo! Also, don’t forget to paint a teal pumpkin for those trick ‘r treaters with allergies and set it on your porch if you plan to offer allergy-free treats for all your little visitors Halloween night. To find out more about the Teal Pumpkin Project, click here.

Leave a Reply

Your email address will not be published. Required fields are marked *